The Easy Guide to Homemade Plant-Based Milks

For a variety of reasons, plant milks are becoming increasingly more popular. It wasn’t very long ago when almond milk, for example, could only be found at health food stores. Now, it’s everywhere.
Why Choose Plant Milks?
One of the main reasons why people are more and more choosing plant-based milks is to avoid dairy. For some, this is due to lactose intolerance or a milk allergy. Others feel that dairy products are unhealthy or unethical and want to avoid them altogether. And some people just don’t like the way cow milk tastes.
Why Make Your Own Plant Milk?
Store-bought nut milks are certainly convenient, and nearly every grocery store nowadays offers at least a small variety of dairy-free milk alternatives, but making your own milk at home can be a great advantage.
Homemade nut milk is fresher and often tastier than its packaged cousins from the market. Also, plant milks from the store usually contain additives and thickeners to increase shelf life and, of course, make the milk creamier. When you make your own milk at home, you can have complete control over what goes into it, and you can have a bit of pride in it too (and impress your friends).
How to Get Started
Many people are surprised to learn that making plant-based milk at home is incredibly simple and easy. And that’s not an exaggeration for clickbait. You just need nuts, water, a straining bag, and a blender. That’s it.
How to Make Nut Milk
This first step is optional, but it will make the process easier. Soak one cup of nuts in a bowl of water overnight, preferably in the fridge. This will soften the nuts and make them easier to blend.
Add the nuts to your blender and pour in about four cups of water (some people like to add a pinch of salt to boost the flavor). Blend the nuts and water on high speed until creamy and frothy. This typically takes about 90 seconds. If your blender has a juice option, that will probably work well.
Pour the milk through a nut milk bag or cheesecloth, then squeeze out any liquid into a large bowl, or any large container. If you’re using cashews, you can skip this step.
Transfer all the milk into a glass container and store it in the fridge. Remember, it doesn’t have any preservatives, so it won’t last as long as store-bought nut milk. Homemade nut milk should stay good for about 4 or 5 days. If it starts to go bad, you’ll probably be able to taste it.
What Nuts Can You Use to Make Milk?
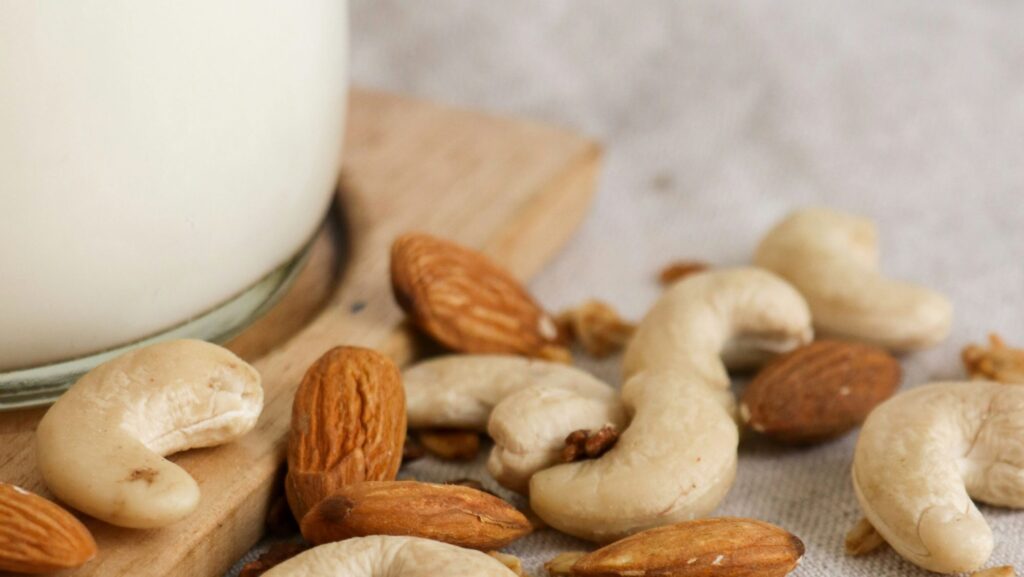
Almonds, cashews, and walnuts are the most popular nuts to use. Each nut offers its own unique flavor and texture.
Almond milk is creamy and versatile. With a mild taste and medium creaminess, it’s kind of the all-around perfect milk for just about anything. And it’s great in both sweet and savory recipes. Soaking almonds beforehand can help to enhance their flavor.
Cashew milk has a fairly neutral taste and luxurious thick texture. It can definitely be a crowd-pleaser. Unlike pretty much all other nuts, cashews don’t require straining. So if you’re looking to simplify an already simple process, cashews are your friend!
Walnut milk is rich, and its flavor is slightly bitter but also buttery. It can really add some depth of flavor to baked goods and smoothies. Walnuts are also often the cheapest nut, so if you find that you like the taste, walnuts are the best option for your walnut.
Plant-Based Milks Are for Everyone!
Whether you’re lactose intolerant, vegan, dairy-free, or simply looking to switch up your diet, homemade nut milks be a delicious and nutritious alternative. An best of all, they’re incredibly easy to make! So why not give it a try?
